Exclamation point detection using PyAutoGui, OpenCV, (Fishing macro 2)
Lost ARC Fishing Macro Series
Lost Ark Fishing Macro with Python (Loa Fishing Macro1)
OpenCV, exclamation point detection using PyAutoGui (ROAH Fishing macro 2)
In this post, we will use the PyAutoGui library to detect an exclamation point that informs the completion of the Chi fishing.
We’ve put OpenCV in the title, but we’re not going to use OpenCV ourselves.
However, one of the functions that PyAutoGui provides is a function called locateOnScreen. There is an item called confidence during the optional argument that this function receives.
You must install OpenCV in order to specify this item.
(Note that PyAutoGui will process the main monitor only if you have a double monitor. )
Install the library using the command below.
pip install pyautogui==0.9.38
pip install pip opencv_python
In the case of pyautogui, the latest version is not installed as an encoding problem in Hangul Windows. So I set up a downgrading. There is no problem with old versions.
1. Exclamation point screenshot
Before coding, let’s first get an exclamation mark.
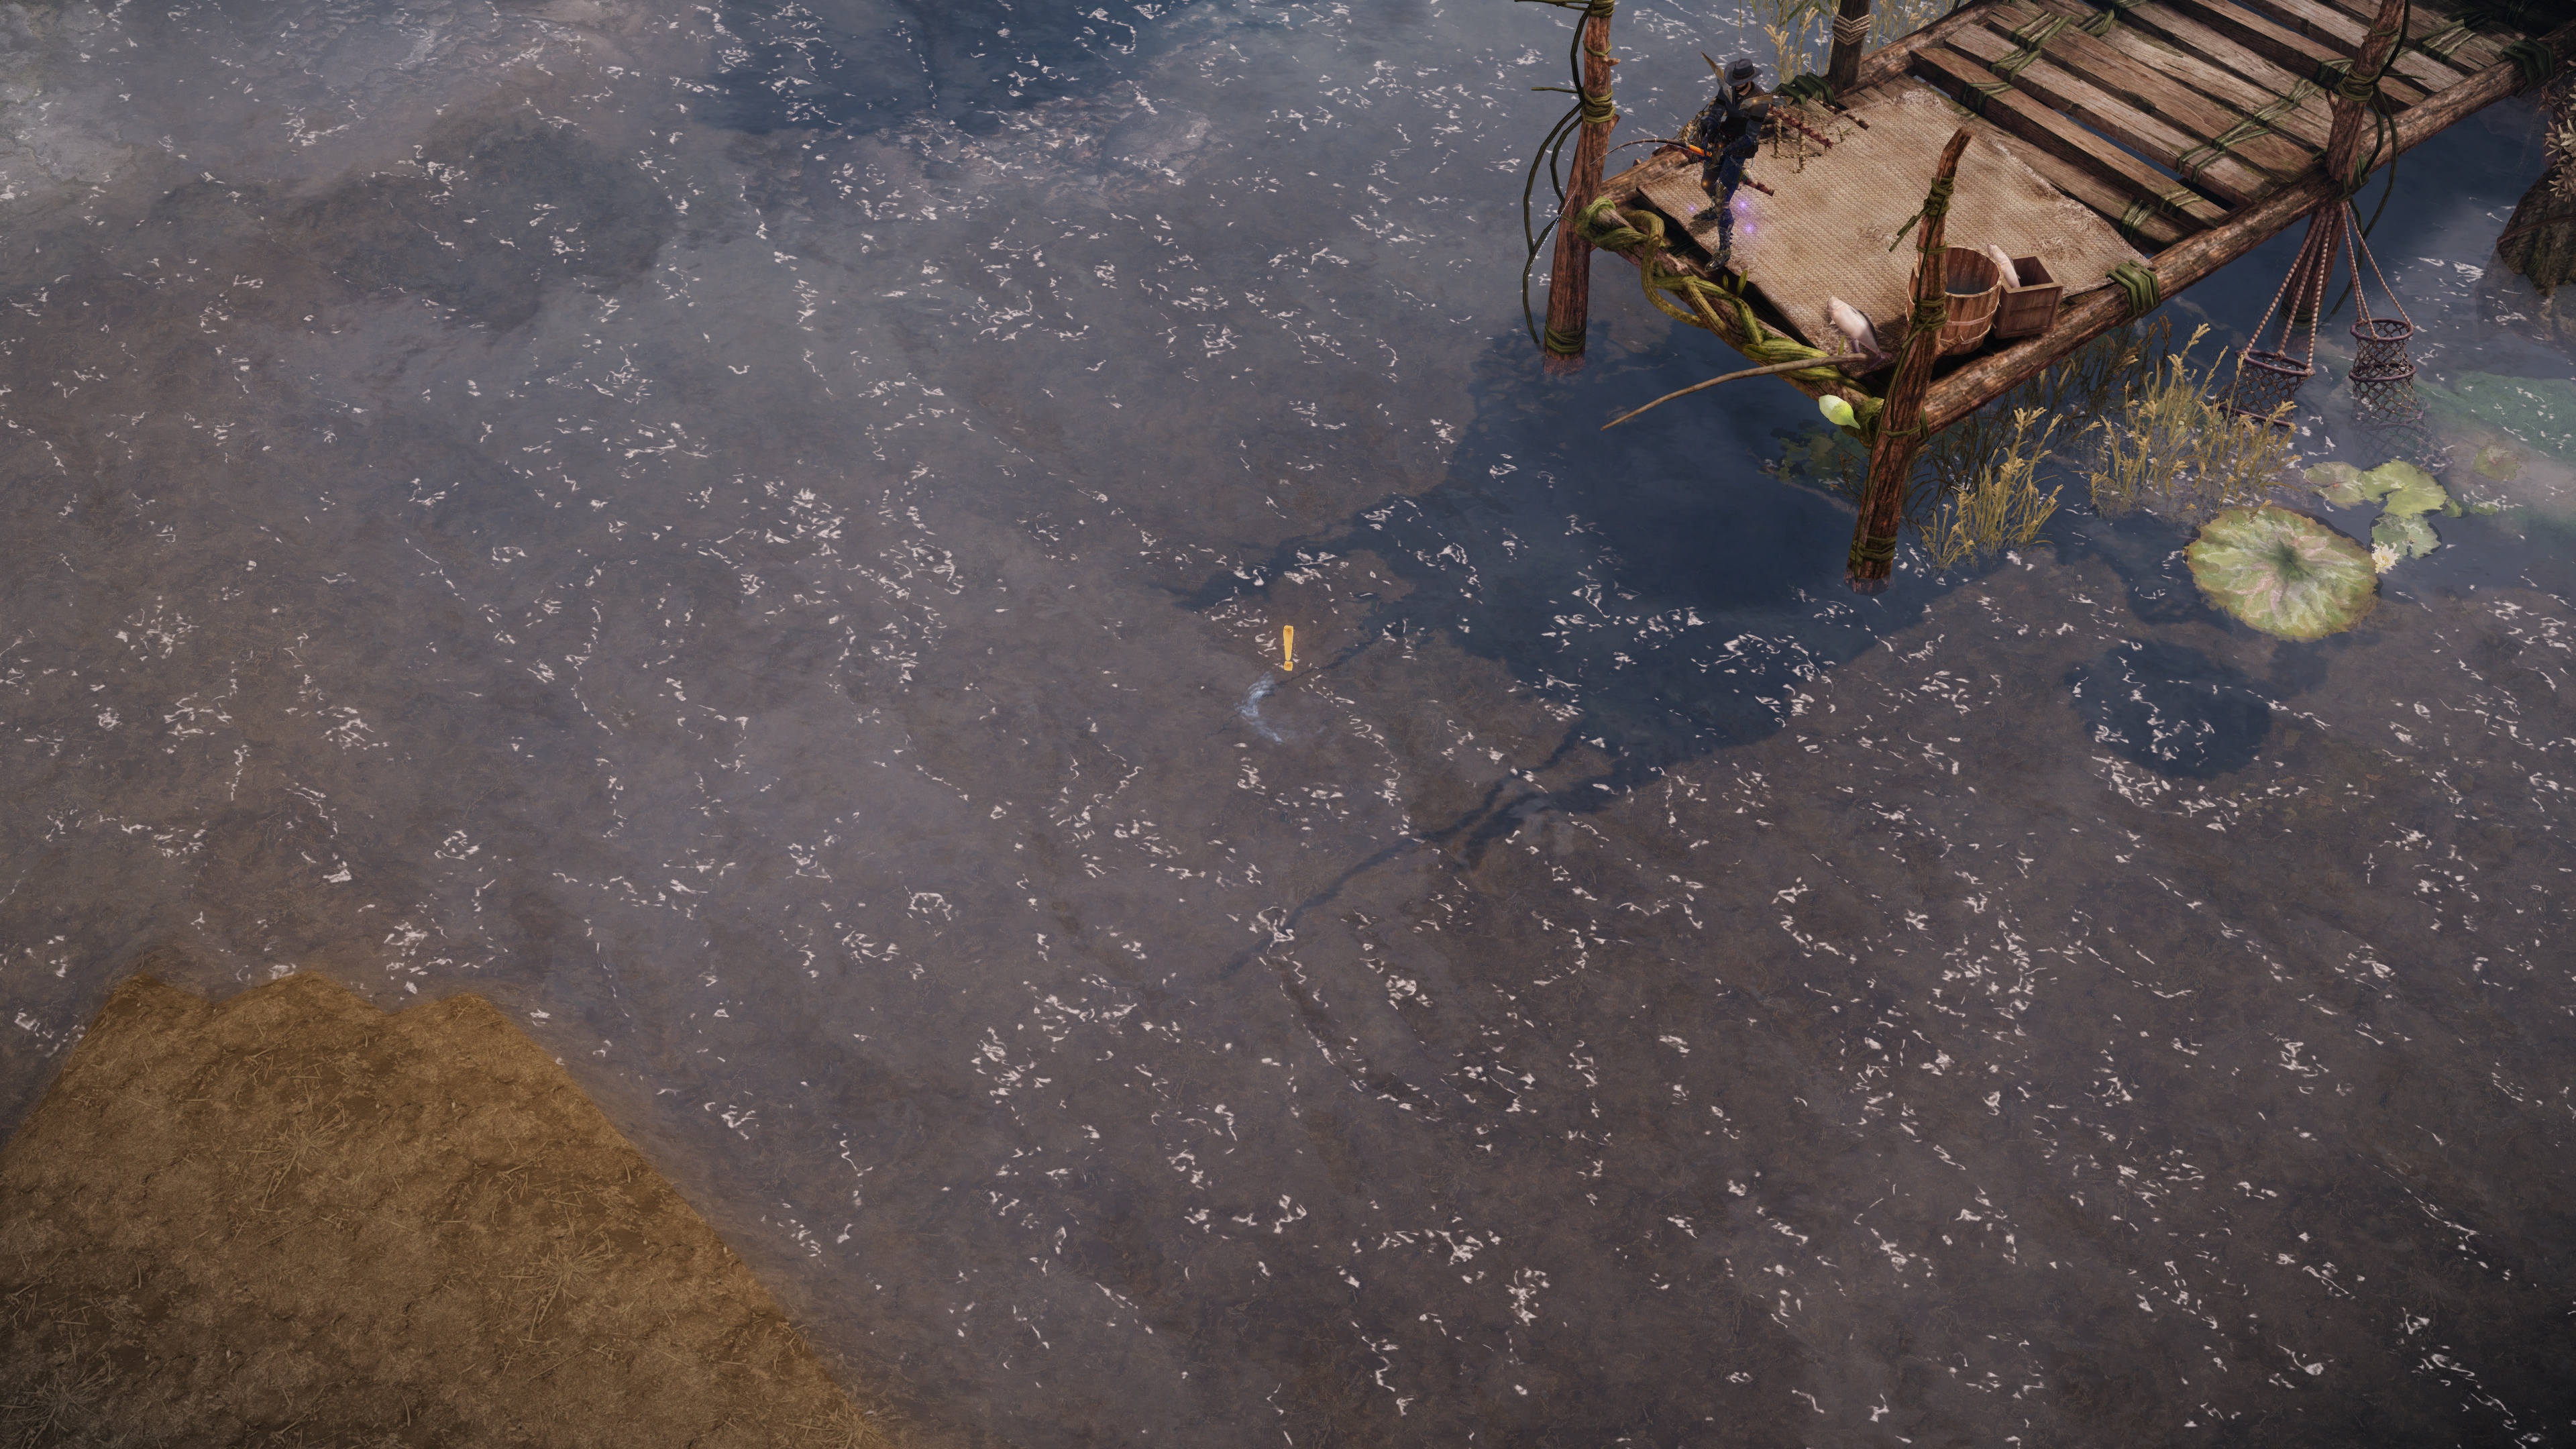
Turn on the roast ark, take a screenshot of the exclamation point while fishing, and cut it nicely. In my case, it came out as follows:

Next, you’ll create an img folder in the task directory and store the image file above in the newly created folder. And please set the image file name to LA_exclamation_mark.png.
Working directory will be the following structure.
/lostark
/ – /img
/-LA_exclamation_mark.png
Fishing_place.py
/ – init.txt
And add the contents below to the init.txt end.
[lostark_fishing]
Width = 200
heght = 200
2. Exclamation point detection code
Now that the prep is over, let’s create a code to detect the exclamation point.
Create a file called fishing_image.py under the lostark folder and enter the code below.
import os
import time
import sys
import pyautogui as pa
import configparser
# - 주모니터의 화면의 Center 를 Return -
def getCenterOfScreen():
    tup = pa.size()
    tup = (int(tup[0]/2), int(tup[1]/2))
    return tup
# - 느낌표를 검출할 영역을 지정 -
def makeRegion(center, width, height):
    x = center[0]
    y = center[1]
    startPos = (x - width, y - height)
    region = (startPos[0], startPos[1], 2*width, 2*height)
    return region
# - 이미지 File이름, 검출 대상이 될 영역을 입력받아 이미지를 검출하는 함수
def findLcationWithImage(fileName, startPos, confidence=.7):
    file_path = os.path.dirname(os.path.realpath(__file__)) + '\\' + 'img' + '\\' + fileName
    result = pa.locateOnScreen(file_path, confidence=confidence, region=startPos)
    #print('.', end=' ')
    sys.stdout.write('. ')
    sys.stdout.flush()
    if result != None:
        print('Find Image ' +  str(result))
    return result
def findImageUntil(fileName, startPos, cnt = 60, confidence=0.8, wait=0.1):
    for i in range(cnt):
        imgpos = findLcationWithImage(fileName, startPos, confidence= confidence)
        if imgpos != None:
            break
        else:
            time.sleep(wait)
    if imgpos == None:
        return None
    else:
        return imgpos
if __name__ == "__main__":
    # - init.txt 의 width와 height 값을 읽어옴
    configFile = os.path.dirname(os.path.realpath(__file__)) + '\\' + 'init.txt'
    config = configparser.ConfigParser()
    config.read(configFile)
    width = int(config['lostark_fishing']['width'])
    height = int(config['lostark_fishing']['heght'])
    region = makeRegion(getCenterOfScreen(), width, height)
    findImageUntil("LA_exclamation_mark.png", region, cnt=60, confidence=0.8)
As the function findImageUntil in the above code, it is the content to perform a detection operation of 0.1 seconds for 60 times until a picture similar to the LA_exclamation_mark.png in the specified area is found.
The number 60 is a number that is experimentally determined. Depending on the resolution of the monitor, the operation may be performed quickly or slowly.
I have a 4K monitor and the CNT = 60 is the most suitable! If you have a resolution that is lower than 4K, and you have a smaller region area, then 60 may be more stable than it is.
So let’s do a test.
Connect to the Lost Ark and run the code after throwing the poke

Then, until an exclamation mark comes out. . . . If the screen repeats and the exclamation point is printed, the image will be displayed as shown below.

If the program ends before the exclamation point comes out, please increase the cnt value in the call to findImageUntil and adjust the confidence to between 0 and 1 if the program can’t detect it even if the exclamation point is out! (In Full HD, 4K confirmed that it is well detected with confidence = 0.8.)
With this, let’s finish this post.
In the next post, let’s complete the fishing macro.


